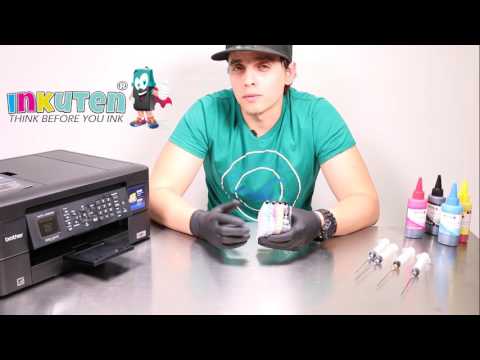
Today, we'll be showing you how to use and refill the refillable cartridges for Brother printers. I have all the necessary tools in front of me, including end bottles, syringes with needles, and the refillable cartridges themselves. The refillable cartridges have two plugs, one at the top and one at the bottom. The top plug is the reaper plug, while the bottom plug is the air vent plug. These cartridges also have auto resettable chips, which are important because they automatically reset once the cartridge is empty. Now, let's begin the rebuilding process. We first need to remove the refill plug from the top. Slowly, we will refill the cartridge. Today, we used premium dye ink, but you can use any ink that suits your needs, such as pigments or edible ink. We offer a variety of inks on our website, inkto10.com. After refilling the cartridges, it's time to install them. Installing these cartridges is similar to installing the original ones. Just push them in one by one, following the prompts on the screen. Remember to push them in firmly, as they may require more force than the original cartridges. Additionally, remove the air vent plugs at the bottom to ensure proper ink flow. Once the cartridges are installed, close the cover. You can see on the printer that the ink levels are good and everything is ready. Now, you can either run a test page or start using the printer.
Award-winning PDF software


3211 Form: What You Should Know
Note 2: The auditor is a person who is appointed as an auditor under Rule 901(a) and who has a fiduciary relationship with the accountancy firm's client and has the specific duties required by Rule 901(b) Note 3: The auditor has fiduciary responsibilities under Rule 901(c) Rule-3 — ADR For an audit report of an accredited accountant or auditor in certain kinds of accounting firms this one Rule- — Rule of Procedure to Review Audit Report: Audit Conference PC AOB Rule: (PDF) Rule 2: Notice of Disposition of Unclaimed Property For a sale of property that is not taxable under IRC § 848(c)(2) (see Part IV) or IRC § 1014(a)(1) Submitting a Form 8889 For a sale of property that is NOT taxable under IRC § 848(c)(2) (see Part IV) or IRC § 1014(a)(1) Submitting a Form 1118 If you are a business or other type of entity, see Appendix B. Part V: “Firm” and “Firm Entities” in IRC Section 852 Note: If you own an LLC (which you must file) and you are self-employed you might have to file a Form 1065, self-employment tax return. If you own an LLC (which you must file) and you are self-employed you might have to file a Form 1065, self-employment tax return unless you are the sole owner of the LLC If you own a corporation, see Part V of this publication for general guidance on “firm” or “firm entity” filings Part VI: “Accountant” and “Accountant Entities” Under IRC § 1023 Note: I will deal with “registered public accounting firms” in Chapter 9 of this publication. If you own an LLC (which you must file) and you are self-employed you may find that some of the rules you follow when filing a Form 1065 can be more complicated as your business relationship changes.
online solutions help you to manage your record administration along with raise the efficiency of the workflows. Stick to the fast guide to do Form 3911, steer clear of blunders along with furnish it in a timely manner:
How to complete any Form 3911 online: - On the site with all the document, click on Begin immediately along with complete for the editor.
- Use your indications to submit established track record areas.
- Add your own info and speak to data.
- Make sure that you enter correct details and numbers throughout suitable areas.
- Very carefully confirm the content of the form as well as grammar along with punctuational.
- Navigate to Support area when you have questions or perhaps handle our assistance team.
- Place an electronic digital unique in your Form 3911 by using Sign Device.
- After the form is fully gone, media Completed.
- Deliver the particular prepared document by way of electronic mail or facsimile, art print it out or perhaps reduce the gadget.
PDF editor permits you to help make changes to your Form 3911 from the internet connected gadget, personalize it based on your requirements, indicator this in electronic format and also disperse differently.
Video instructions and help with filling out and completing Form 3211